3 Techniques for Polishing Engineered Stone
1. Know Your Materials
With manmade or Engineered Stone (ES) materials there are subtle differences that dictate which products are easier to polish, and which others usually give users trouble in the field. When troubleshooting issues around polishing (ES), it’s always beneficial to do some research ahead of time, however here are some factors to consider that help facilitate the learning curve.
A. Generally speaking the lighter color materials are easier to polish. There are exceptions of course for example “Absolute White.” This color will exhibit an extremely small particle content of quartz rock aggregate and high resin content. This characteristic means that the pad will be in contact more with the material’s resin than with the quartz aggregate. As a result this high resin composition lends itself to a greater potential of burning if the proper polishing technique is not applied. As well, some dark colors will exhibit similar composition i.e. Dark Maroon & Absolute Black.
B. Generally speaking the lighter color materials are easier to polish. There are exceptions of course for example “Absolute White.” This color will exhibit an extremely small particle content of quartz rock aggregate and high resin content. This characteristic means that the pad will be in contact more with the material’s resin than with the quartz aggregate. As a result this high resin composition lends itself to a greater potential of burning if the proper polishing technique is not applied. As well, some dark colors will exhibit similar composition i.e. Dark Maroon & Absolute Black.
2. Selecting the Right Pads for the Job
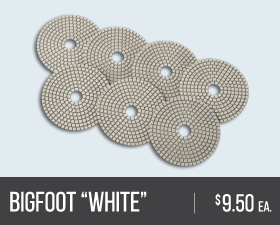
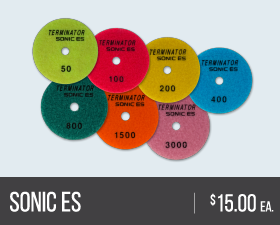
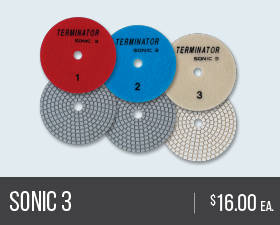
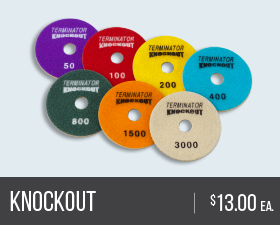
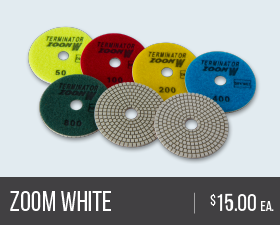
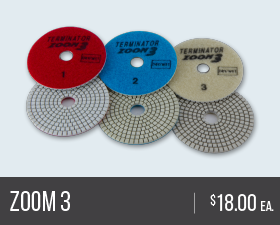
This one seems rather obvious right? Think again. Too often we have run into customers who say all pads are the same, but these are often the same customers who have the most trouble when polishing (ES). There are colored pads on the market that are able to reach an excellent quality polish on (ES), however they usually require lots of water, time, and can transfer the pads color onto the stone during the final step - why take the risk? We recommend using “white” resin pads, of such pads we offer 6 lines.
Click here to see all
3. Beneficial Techniques
Here are few of the most common tips we recommend to improve the quality of your polish on (ES).
A. Use a Rigid Backer
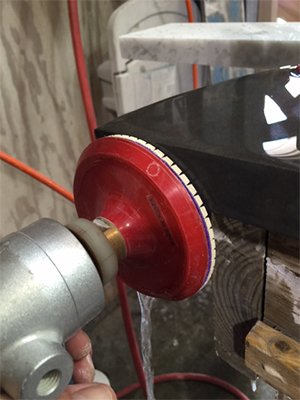
While flexible backers work well for concave profile edges, such as ogees, the need to use a flexible backer on most any other profiles is rare. A helpful correlation to think about – automated line profiling machines all use extremely rigid tools and backers, yet they produce a far better edge than what most fabricators could achieve by hand. If flexible backers were the key, you can bet you’d see them being used on all auto-edge machines.
B. Stop Using the Middle of the Pad
Two common problems that arise from using the center portion of the polishing pad are as follows:
1. When using copious amounts of water while applying pressure to the pad’s center, water will get trapped between the pad and stone, causing a hydroplaning effect. In this scenario, there is only so much water that can escape and spread outward at any given moment. Additionally, as a result the pad will have difficulty touching the material’s surface and effectively not polish certain spots.
2. Fabricators who use minimal water will tend to see pads flexing and cupping outward around the middle. Similarly this causes only the edges of the pad to touch the stone and not the middle, leaving the ever common hazy spot center. When trying to remedy this most individuals assume that applying more pressure will fix this issue, however due to the flexible nature of the pad and the thickness of hook and loop used to secure it on the backer a hazy spot still remains.
SOLUTION: Utilize the pad’s edges as you alternate from the top 1/2 to bottom 1/2 of the stone as you travel across the stone edge. In doing so, you should feel the pad “bite”, allowing you to use less pressure.
NOTE: When fabricating eased edges, we suggest placing one hand above the pad to deflect water back onto the stone and your pad. For rounded edges (i.e. bullnose) the center of the pad will be primarily in contact with the stone – due to upward and downward movements, water will have plenty of room to escape not causing a hydroplane effect.
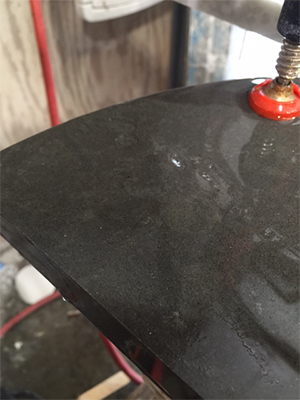
C. Polisher RPM
When polishing (ES) it is important to be mindful of the polisher RPM, too high a RPM will create excessive heat resulting in “white” resin pads smearing on the stone or can even burn the stone itself. Fortunately the nature of white resin allows it to be removed easily by using acetone. As a general rule of thumb, 50-100-200-400 grit pads use a ¾ open position with the knob. For 800-1500-3000 grit pads, use a ½ open position (maximum) with the knob. Add in a few extra passes to compensate for the loss of RPM.
D. Water
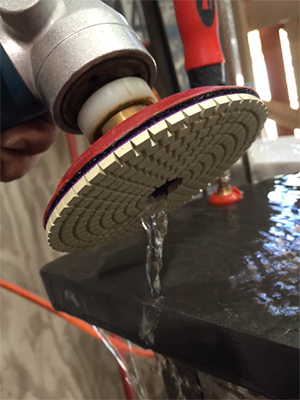
Guidelines on water use (beyond that discussed in Technique B) are as follows: Low grit pads 50-100-200-400 only require a small amount of water to work effectively. How much is a small amount? To explain it simply you need more than a trickle, but not necessarily a flood of water. Additionally, while in use, if you cannot feel the lower grit pads grabbing/biting the material, chances you are using too much water and possibly too high of an RPM. Higher grit pads 800-1500-3000 prefer copious amounts of water along with reduced RPMs (Technique C). Using the proper water quantity has the added benefit creating a situation where the pads work faster for you which is always favorable.
Thank you for reading!
Team TERMINATOR® D.I.A. Diamond Products
